Bringing classic fireplaces back to life
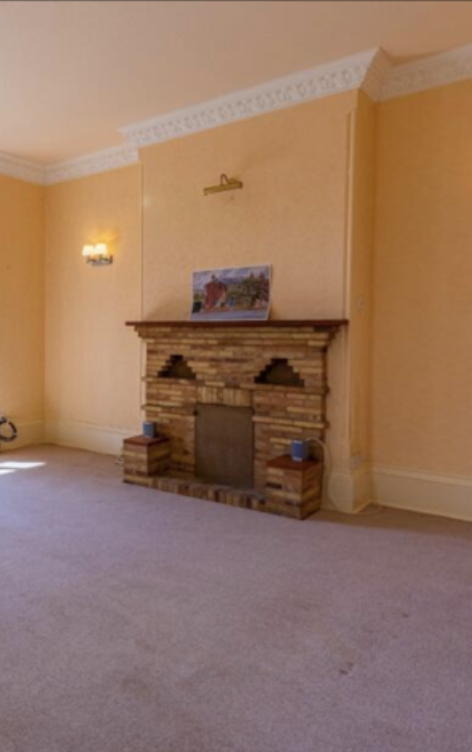
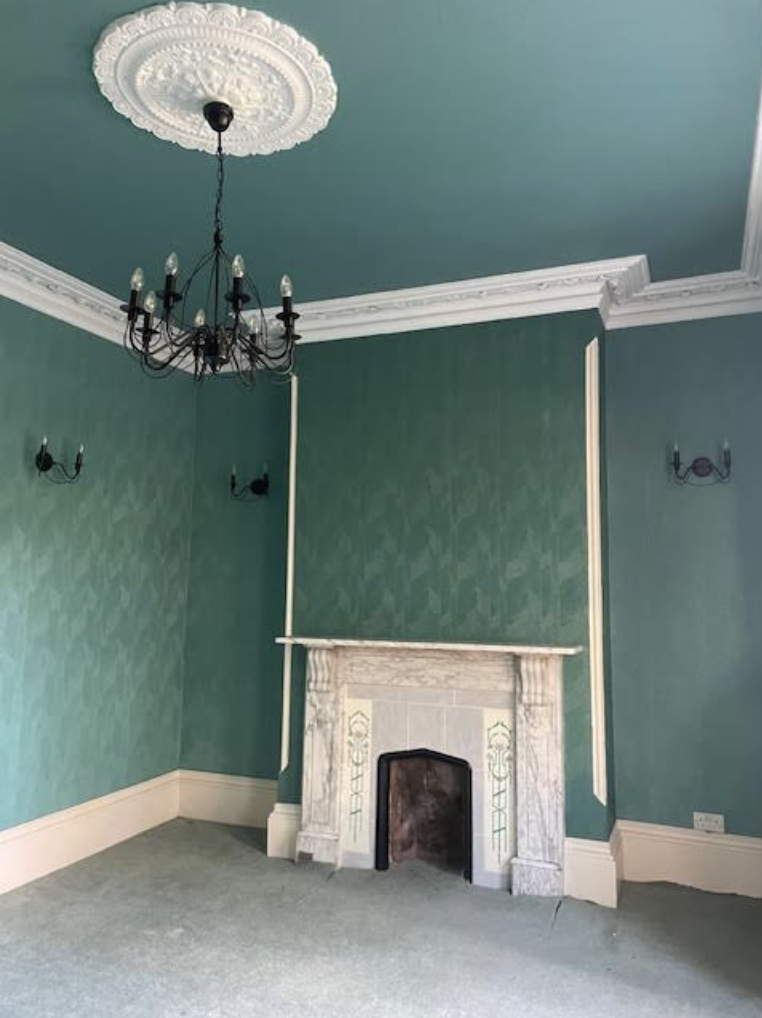
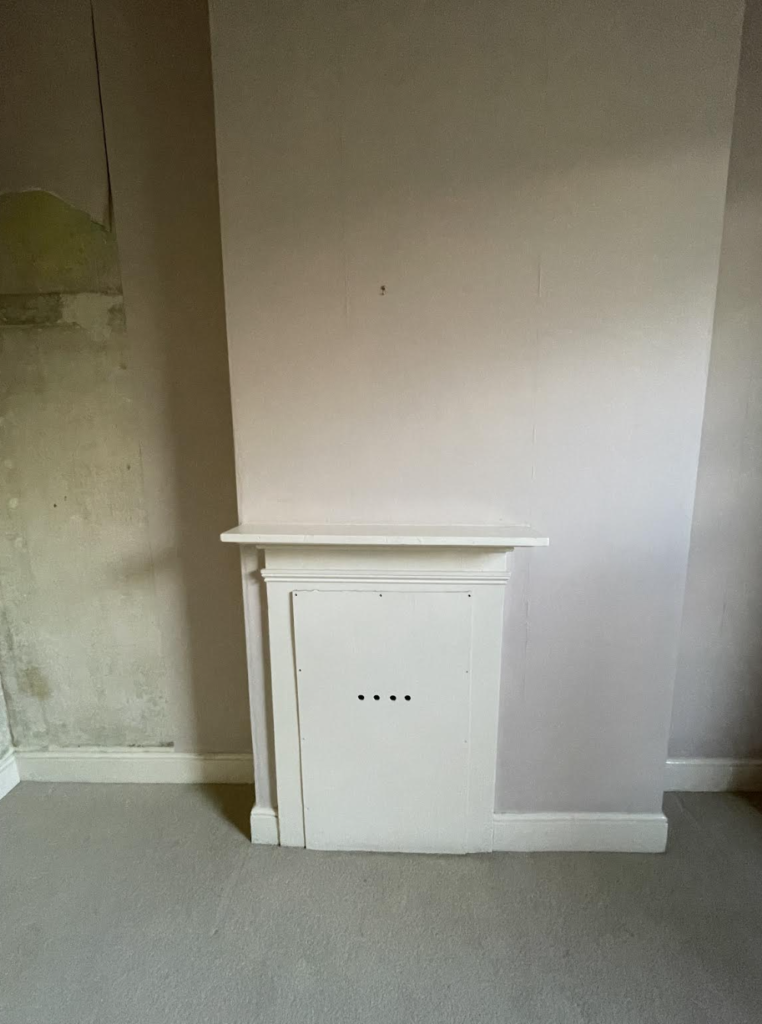
When we moved into our Victorian House, we noticed that the fireplaces in the dining room and front room were blocked up and unused. My wife, Emma, was eager to restore them. Our architect agreed, saying that an old house like ours deserved working fireplaces.
We got in touch with Brookes Sweeps. Ian came out to assess the situation and confirmed that both fireplaces could be brought back into use. There was no dampness or decay, and structurally, everything was sound. He mentioned needing a cherry picker to safely access the roof for the chimney work.
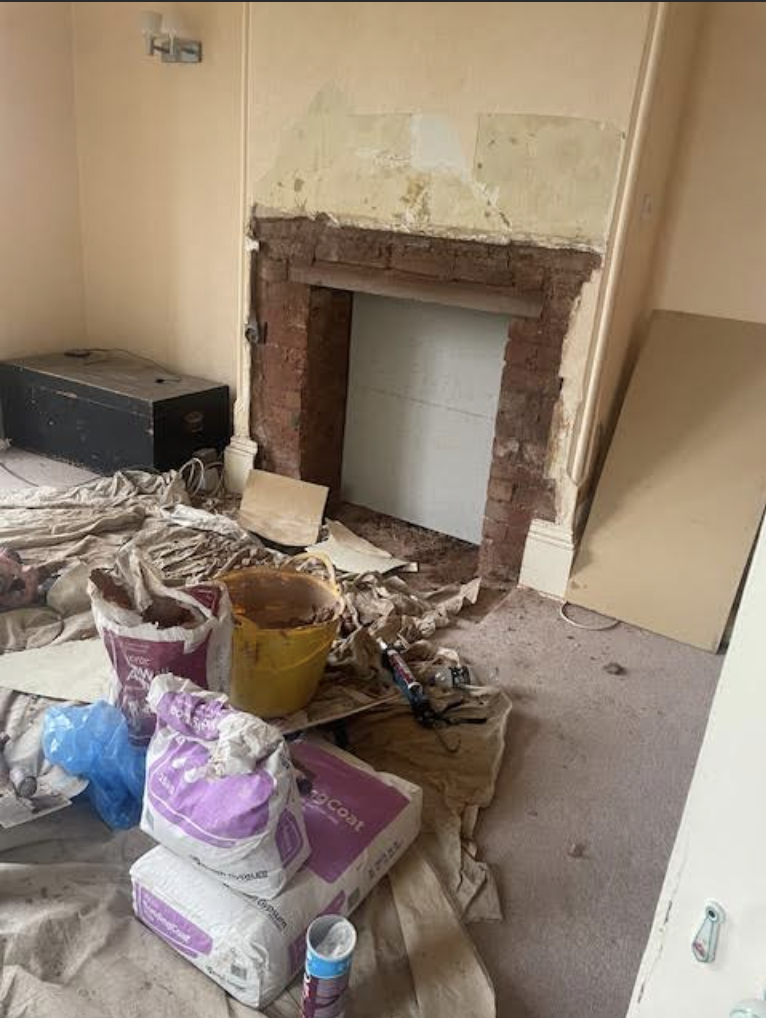
Eager to get started, I began removing the brickwork around the fireplace myself. Unfortunately, I cracked a spindle that runs up the side of the chimney. These spindles are a feature throughout the house that we wanted to preserve, so this was a setback.
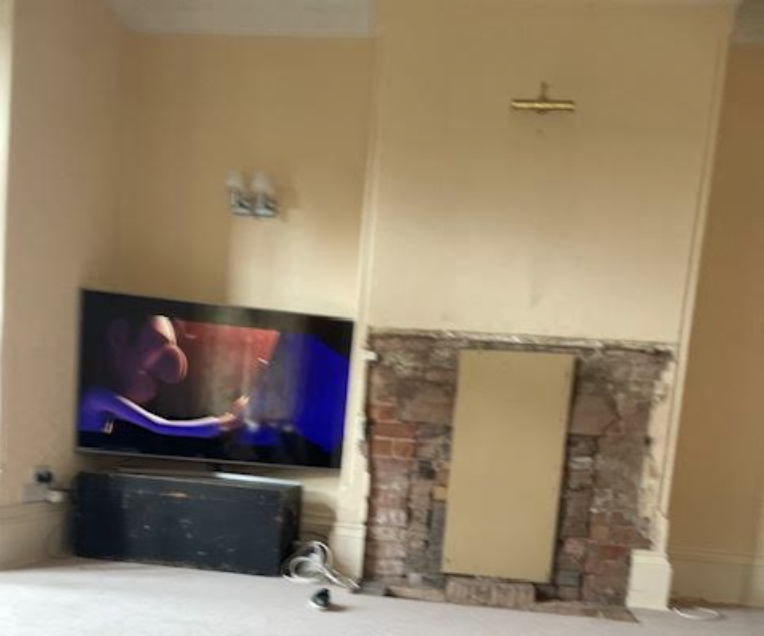
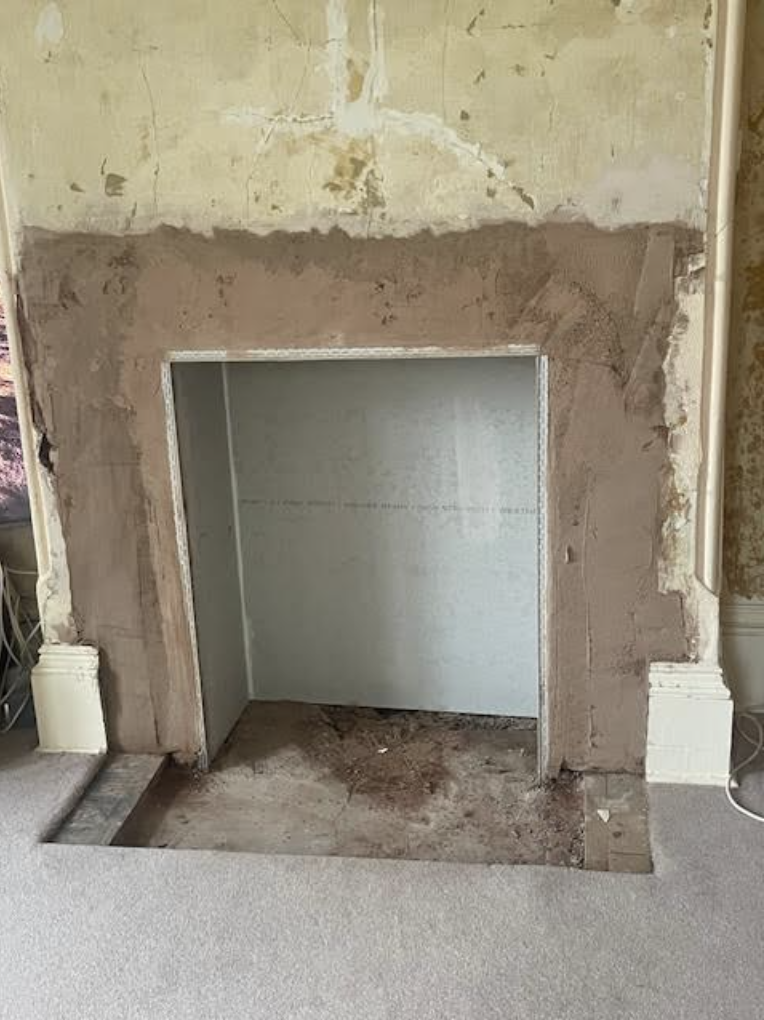
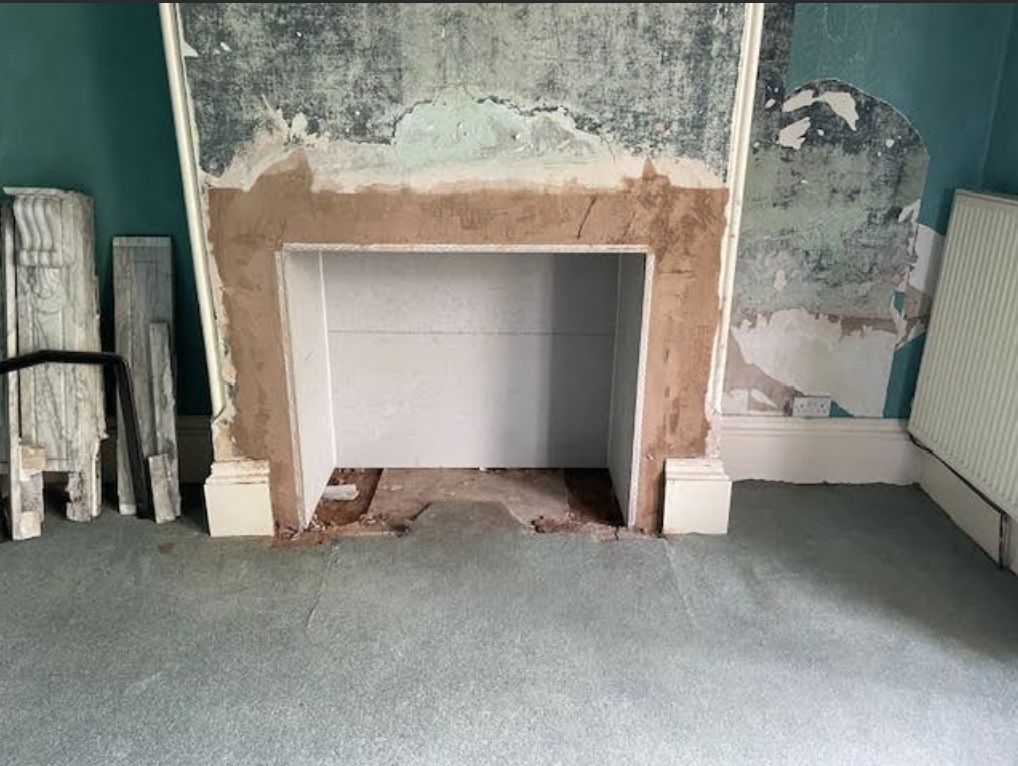
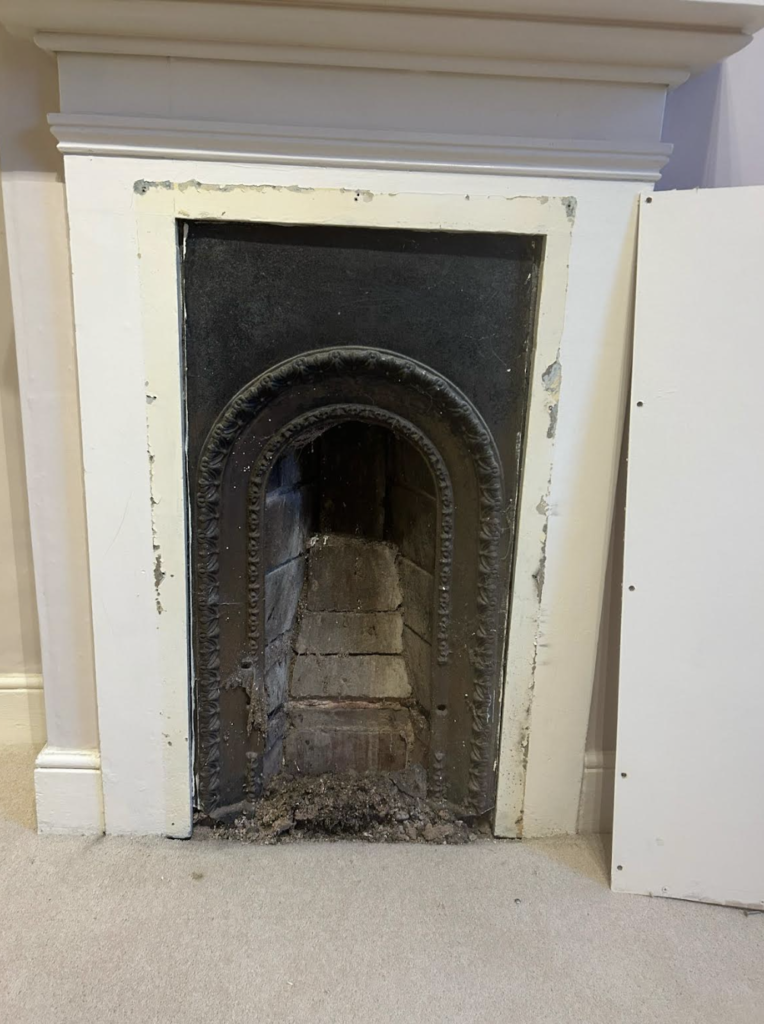
Ian recommended Matt, who specializes in preparing fireplaces. Matt did an excellent job digging out the fireplaces and making them ready for plastering. He used an industrial vacuum that directed dust and debris straight outside, minimizing the mess inside the house. He lined the sides and top with insulation boards—vermiculite or calcium silicate—for effective heat insulation.
Once the fireplaces were prepared, Mark, a master plasterer, came to fix the cracked spindle and plaster the fireplaces. In the front room, we opted for tiling, while in the dining room, we chose a painted finish.
Restoring the fireplaces has added character and warmth to our home. It was a collaborative effort, and we’re pleased with how it turned out.

Historical Context
Fireplaces were the heart of Victorian homes, serving not just as a source of warmth but as a central gathering spot for families. Restoring ours felt like reconnecting with the home’s original character.
Historical Methods of Plastering Spindles
1. Preparation
– Surface Cleaning: The spindles were thoroughly cleaned to remove any dust, dirt, or old paint.
– Priming: A primer was often applied to ensure better adhesion of the plaster.
2. Applying the Base Coat
– Lime Plaster: In earlier times, lime plaster was commonly used. It was mixed with sand and water to create a thick, workable paste.
– Application: The plaster was applied in layers, starting with a rough coat to fill in any gaps and create a textured surface for the next layer to adhere to.
3. Smoothing the Surface
– Second Coat: A second, finer layer of plaster was applied over the base coat. This layer was smoothed out to create a more refined surface.
– Tools: Plasterers used tools like trowels and floats to achieve a smooth finish.
4. Decorative Elements
– Moulding: For decorative spindles, moulds were often used to create intricate patterns and designs in the plaster.
– Finishing Touches: Once the plaster had dried, it was often painted or gilded to match the interior décor.
5. Modern Techniques
– Synthetic Plasters: Today, synthetic plasters and modern adhesives are used, making the process more efficient and durable.
– Spray Application: In some cases, plaster can be sprayed onto the spindles for a more even and quick application.
Interesting Fact
In medieval times, plasterers sometimes added ale to the plaster to make it more pliable, and they would help themselves to the ale, which is where the expression “plastered” comes from.
Personal Reflections
Emma was instantly drawn to the idea of reviving the fireplaces. The thought of bringing warmth and a cosy atmosphere back to these rooms excited us both.
Challenges and Solutions
Cracking the spindle was a setback. We were worried we’d compromised a key feature of the house, but Mark, our master plasterer, skilfully repaired it, preserving the original aesthetic.
Practical Tips
Our experience provided valuable insights:
– Hire Professionals: Consulting experts like Ian, Matt, and Mark was crucial.
– Be Cautious with DIY: Attempting demolition yourself can lead to unexpected issues.
– Invest in Quality Materials: Using proper insulation and fire-resistant plaster ensures safety and longevity.
Transformation Impact
Now, the restored fireplaces not only add warmth but also enhance the ambiance of our rooms. They’ve become focal points that draw us in, especially on chilly evenings.
Engage with Us
If you’re considering a similar project or have stories about restoring features in your own home, we’d love to hear from you!
On a Related Note
Restoring the fireplaces has sparked our curiosity about other hidden gems our home might hold. Victorian houses often have secrets—perhaps original woodwork concealed under layers of paint, or forgotten nooks waiting to be discovered. We’re excited to continue exploring the Victorian house and cherishing its legacy.
Final Thoughts
Restoring these fireplaces has been a journey of discovery, patience, and satisfaction. We’ve not only enhanced the beauty and functionality of our home but also preserved a piece of history. If you’re contemplating a similar endeavour, embrace it wholeheartedly. The rewards, both tangible and intangible, are truly priceless.
Want to become an expert plasterer or painter and decorator yourself, or just learn the basics for DIY? Check out our courses to learn a trade in Worcestershire.