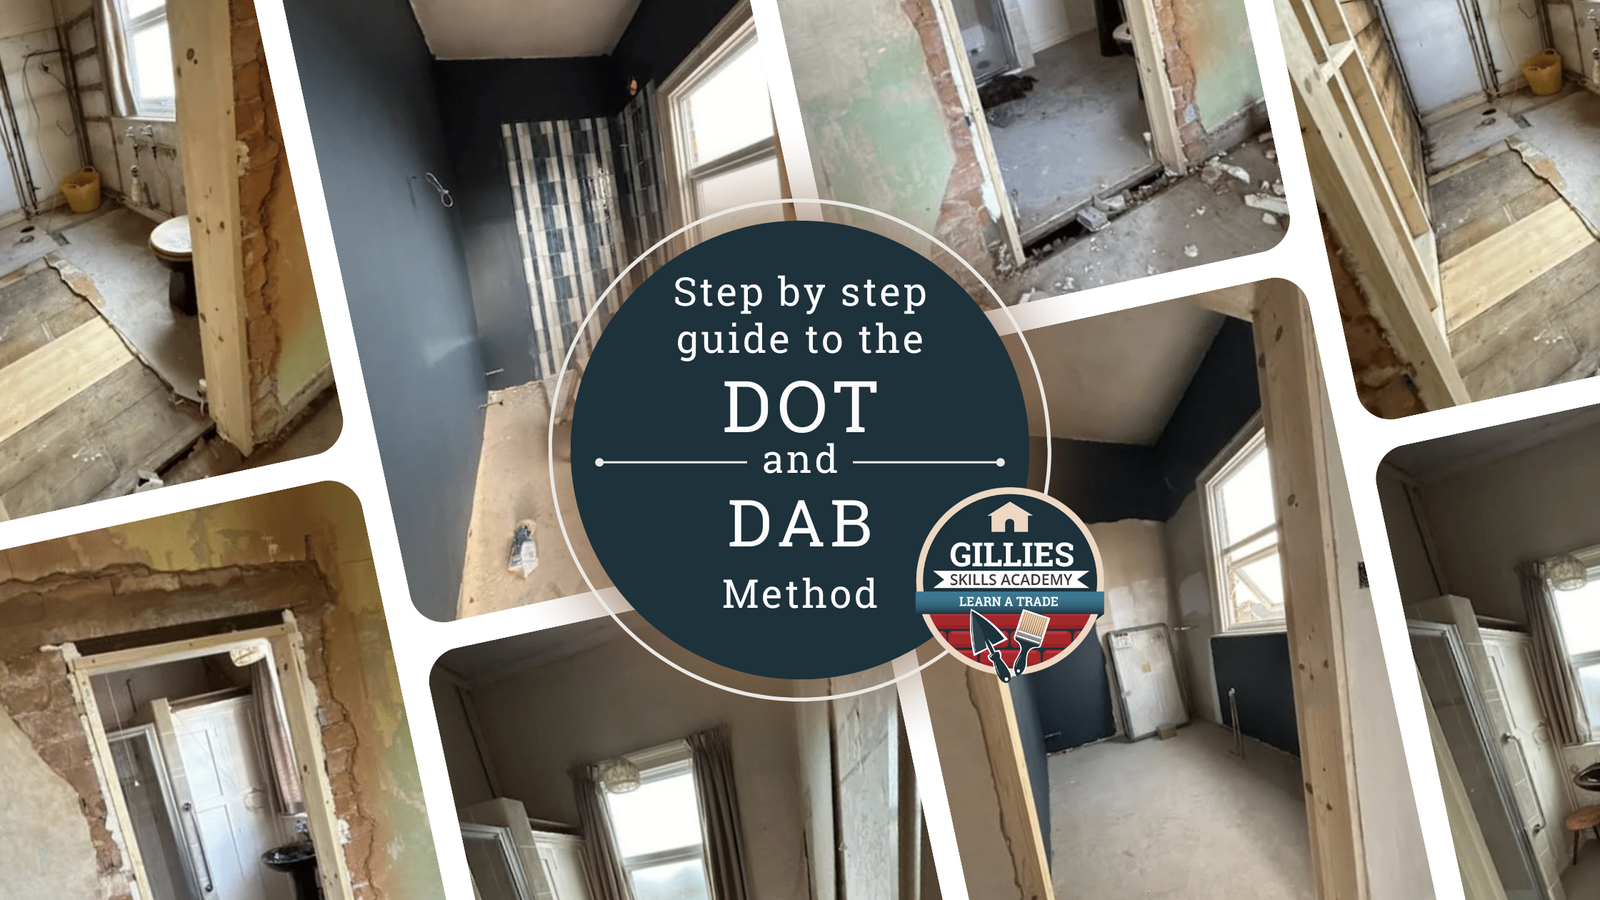
Step by step guide to the Dot and Dab method
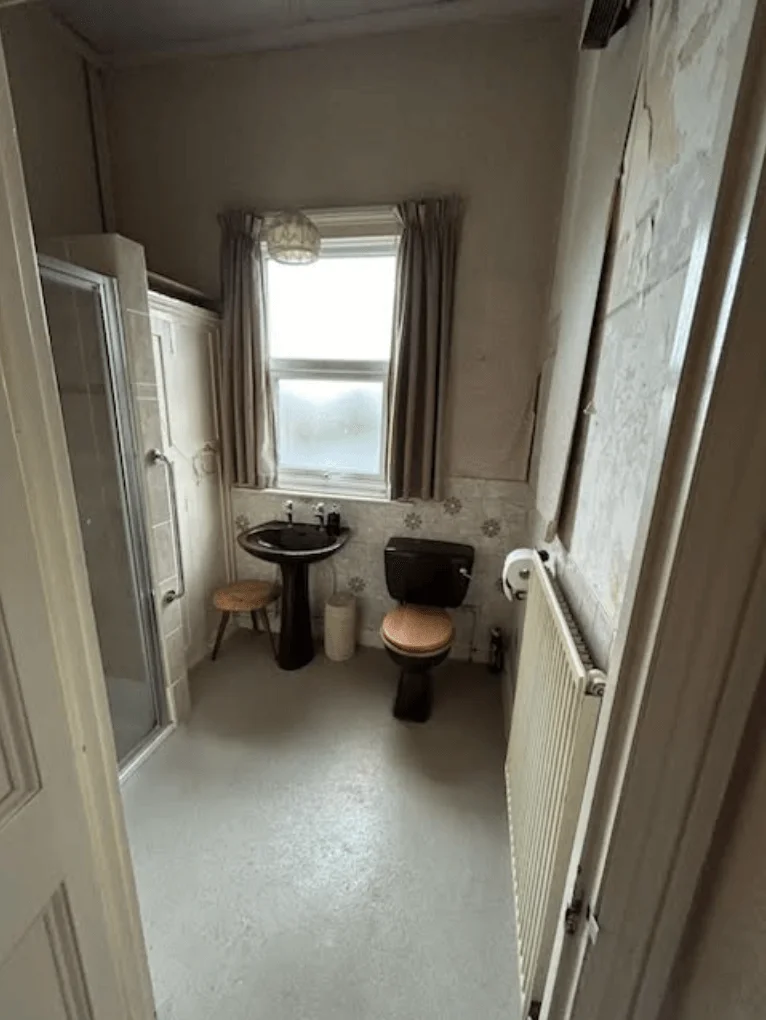
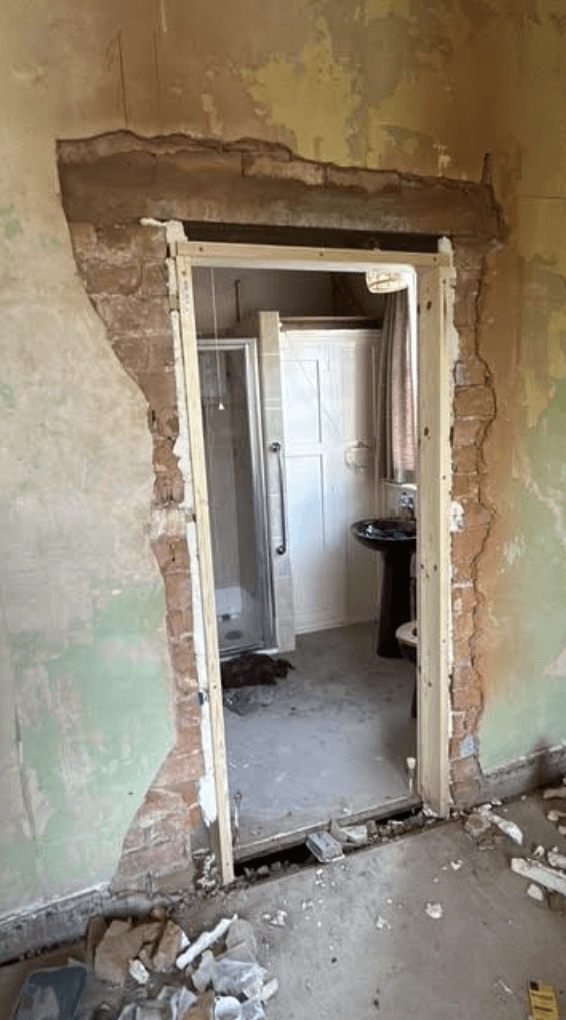
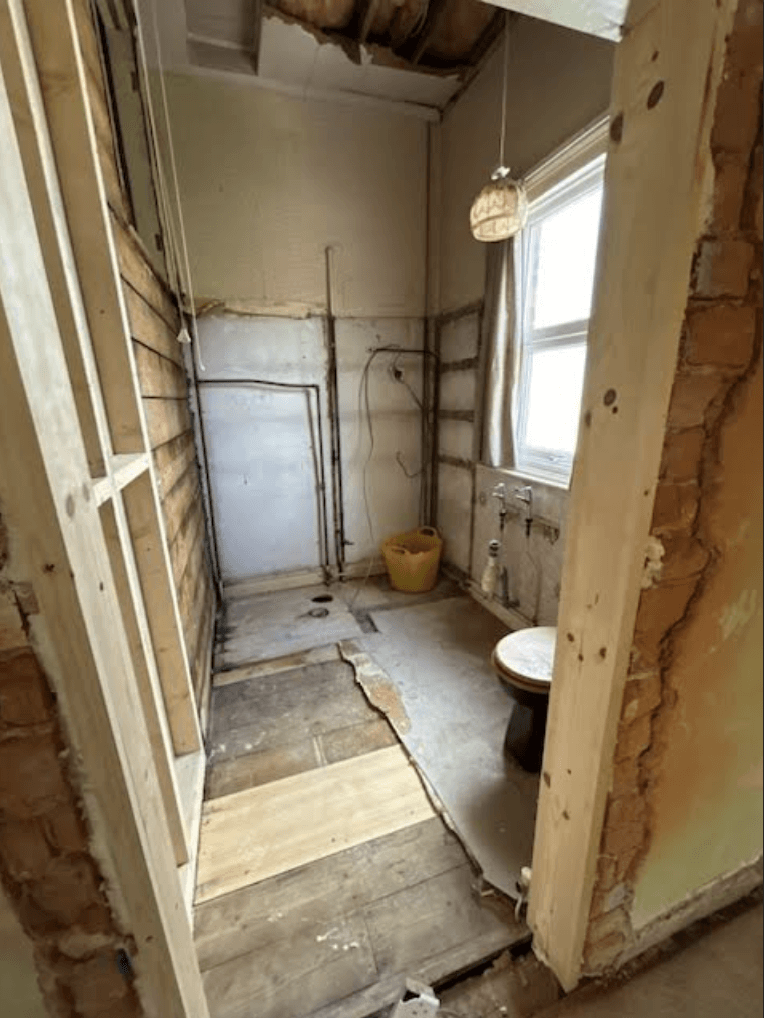
Transforming a neglected Victorian house into a modern family home has been my most ambitious project yet. For the last five years, I’ve dedicated myself to renovating houses, but this one came with challenges that tested my skills like never before. The moment I stepped inside, I knew it needed a complete overhaul—from the leaky roof that had resulted in a ceiling collapse, to the outdated electrics lurking behind crumbling walls. We decided to start upstairs, aiming to create a sanctuary amidst the chaos. Gutting the bathroom was our first task. The space was small and impractical, so we knocked through to the adjacent double bedroom, making a spacious en-suite and walk in wardrobe. With walls stripped back to bare bones, we installed new electrics and plaster board using the dot and dab method.
Dot and Dab method
- Preparation: Before you start, make sure the wall is clean and dry. Seal new brick or block walls with a PVA and water mixture (around 5 parts water to 1 part PVA) and let it dry.
- Measure and Cut: Measure the wall and cut the plasterboard to size. Use a spirit level and a Stanley knife for precise cuts.
- Mix Adhesive: Mix the plasterboard adhesive according to the manufacturer’s instructions. Aim for a consistency that won’t slip off the hawk.
- Apply Adhesive: Use a bucket trowel to apply the adhesive to the wall in small, evenly spaced dots. The dots should be about 10-15 cm apart.
- Position Plasterboard: Press the plasterboard onto the adhesive dots. Start at one corner and work your way across the wall. Use a long spirit level to ensure the board is straight.
- Secure and Trim: Once the plasterboard is in place, secure it with screws or nails if necessary. Trim any excess plasterboard using a plasterboard saw or Stanley knife.
- Finishing Touches: Use a plasterer’s trowel to smooth out any bumps or uneven spots. You can also use a featheredge to achieve a smooth finish
Remember to wear protective gear, such as gloves and a mask, when working with plaster and adhesive.
Next Steps
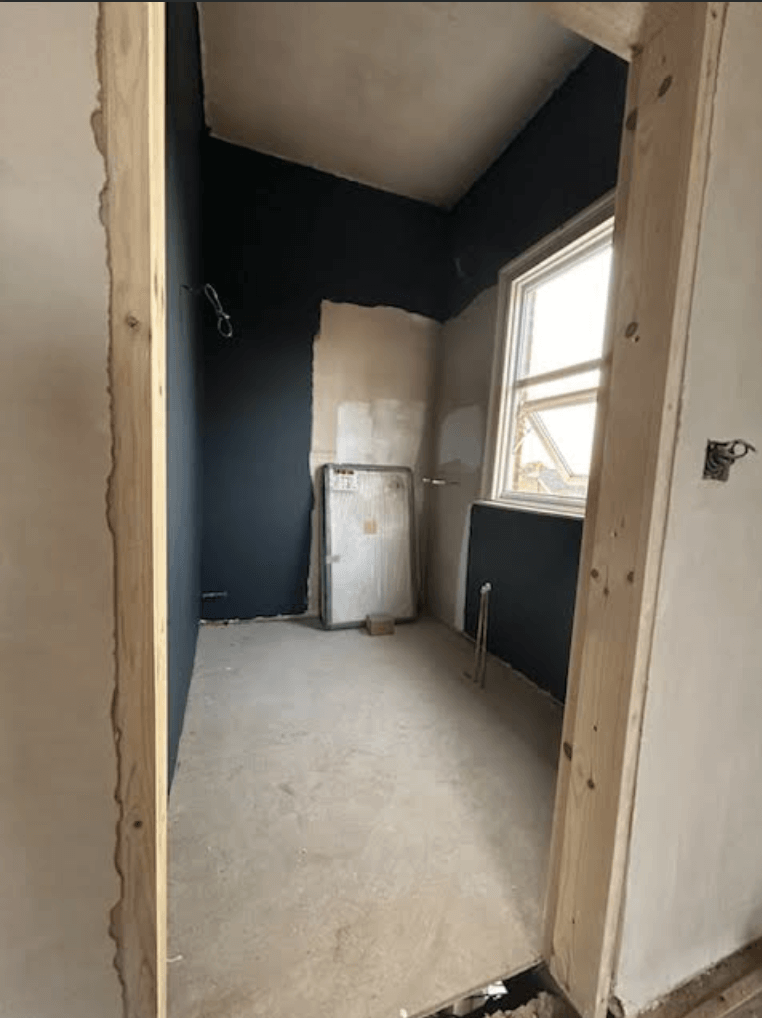
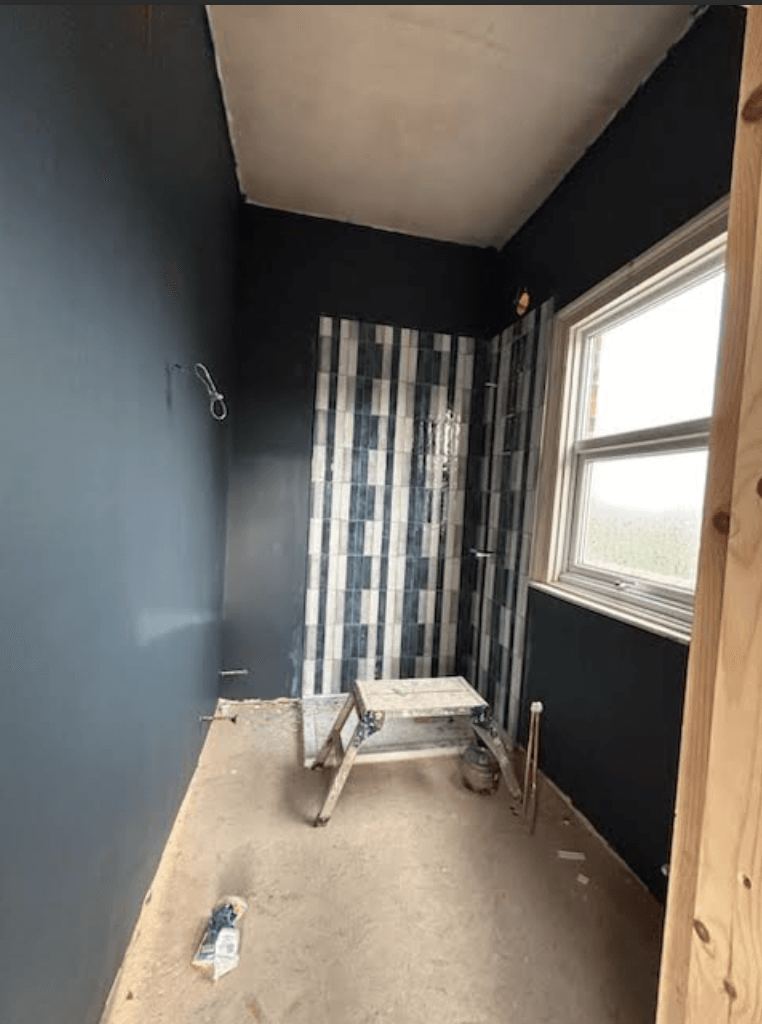
Now the plasterboard has been completed using the dot and dab method, you can now have your plumber do the first fix, laying the groundwork for modern comforts. Master Plasterer Mark then worked his magic, transforming the plasterboard into smooth surfaces with his trowel gliding like a painter’s brush. Once the walls were pristine, we laid the floor tiles—each one bringing us a step closer to our vision. A fresh coat of paint breathed life into the space, setting the stage for the second fix plumbing.
Painting onto fresh plaster: Tips
1. Let the Plaster Dry Completely: Ensure the plaster is fully dry before you start painting. This can take anywhere from a few days to a couple of weeks, depending on the conditions. Plaster that’s too damp can cause paint to peel or crack.
2. Sand the Surface: Lightly sand the plastered walls to smooth out any imperfections. This will help the paint adhere better.
3. Clean the Walls: Remove any dust or debris from the walls by wiping them down with a damp cloth.
4. Apply a Mist Coat: Mix watered-down emulsion paint (usually a 70/30 ratio of paint to water) to create a mist coat. Apply this thin layer to the walls to seal the plaster. Let it dry completely before proceeding.
5. Choose the Right Paint: Use a high-quality bathroom paint that’s mold and mildew resistant. These paints are designed to withstand the humid environment of a bathroom.
6. Use a Primer: If you’re using a different type of paint, consider applying a primer after the mist coat to ensure better adhesion and durability.
7. Apply the Paint: Start with the ceiling and work your way down the walls. Use a brush for the edges and a roller for the larger areas. Apply two coats of paint, allowing each coat to dry thoroughly before applying the next one.
8. Ventilation: Ensure good ventilation while painting and drying to help the paint cure properly and prevent mold growth.
This journey hasn’t just been about fixing a house; it’s about restoring a piece of history and making it home again.
Always double-check the integrity of old ceilings before starting renovations it can save you from unexpected surprises like a collapse. When merging rooms, consider structural implications and consult a professional engineer to ensure safety.
Embarking on such a renovation has been a rollercoaster of challenges and rewards.
Have you taken on a project that pushed you beyond your comfort zone? I’d love to hear your stories!
Want to become an expert plasterer or painter and decorator yourself, or just learn the basics for DIY? Check out our courses to learn a trade in Worcestershire.